

This information would be almost impossible to find anywhere else online or from any so-called expert or guru out there. These methods have been tested by myself and other business owners and have helped us to rank multiple businesses number one on Google. So take this all in and be careful to follow each step.
Step 1: Register Your Google My Business Profile
Create a Google Account: Start by setting up a Google account at accounts.google.com.
Visit Google My Business: Go to google.com/business and click "Manage now" to begin.
Enter Business Name: Add your business name. If it’s not listed, click "Add your business to Google."
Choose Category: Select a relevant category for your business to help customers find you.
Add Location: Enter your physical address or specify your service area if you don’t have a fixed location.
Provide Contact Info: Include your phone number and website URL for customers to reach you easily.
Verify Business: Follow the verification steps (postcard, phone, or email) to confirm your business.
Complete Profile: Fill out all details, including operating hours, a detailed description, and high-quality photos of your business.
Step 2: Optimize Your Google My Business Profile
Log In to Google My Business: Sign in to your account at google.com/business.
Update Info: Ensure all business information is accurate and up-to-date.
Add Photos: Upload high-quality photos showcasing your business’s interior, exterior, products, and services.
Post Updates: Regularly update your profile with new posts, offers, and events to keep your audience engaged.
Manage Reviews: Respond to all reviews to show your engagement and appreciation for customer feedback.
Step 3: Get Google Verified Photography
Hire a Verified Photographer: Employ a Google-verified photographer to take 360-degree photos of your business.
Upload Photos: Ensure the photographer uploads these photos directly to your Google My Business profile.
Step 4: Use Google My Business App
Download the App: Install the Google My Business app on your smartphone.
Take Photos: Use the app to capture interior and exterior photos. Google verifies the location through the app’s geo-coordinates.
Step 5: Generate Reviews from Various Locations
Ask for Reviews: Encourage customers to leave reviews from different locations to demonstrate relevance across multiple regions.
Email Requests: Send follow-up emails requesting reviews after customers have visited your business.
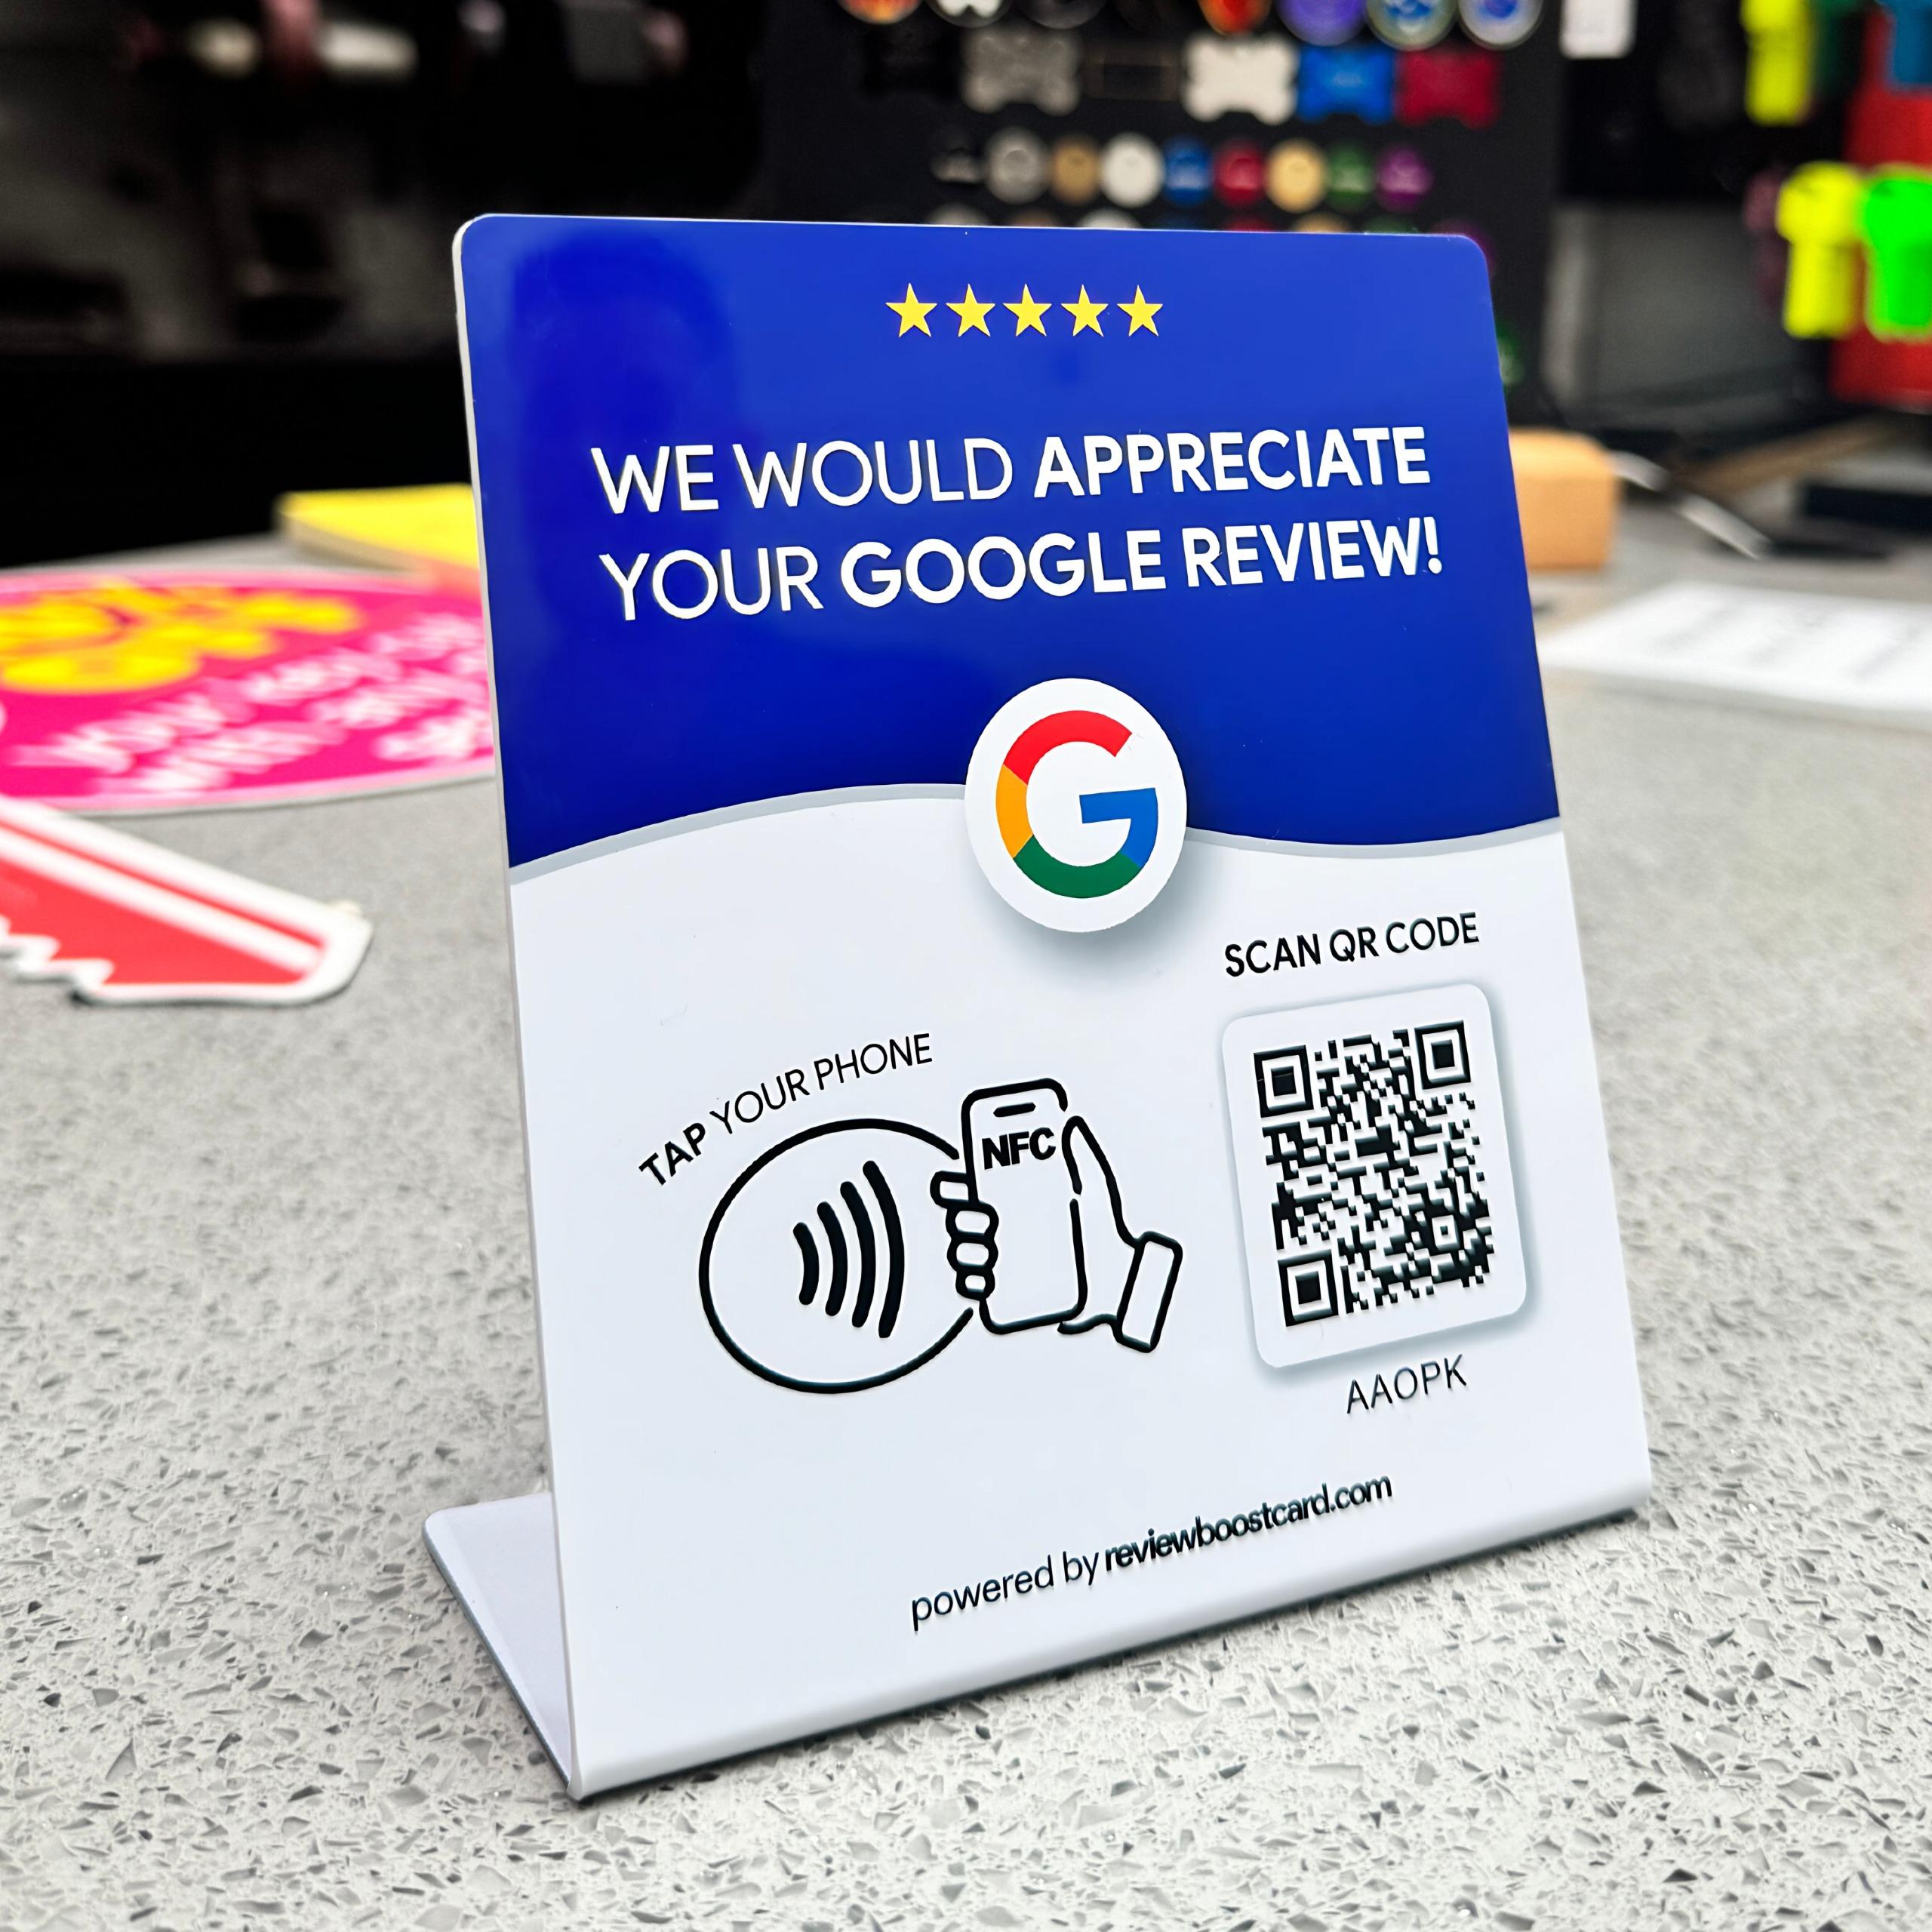
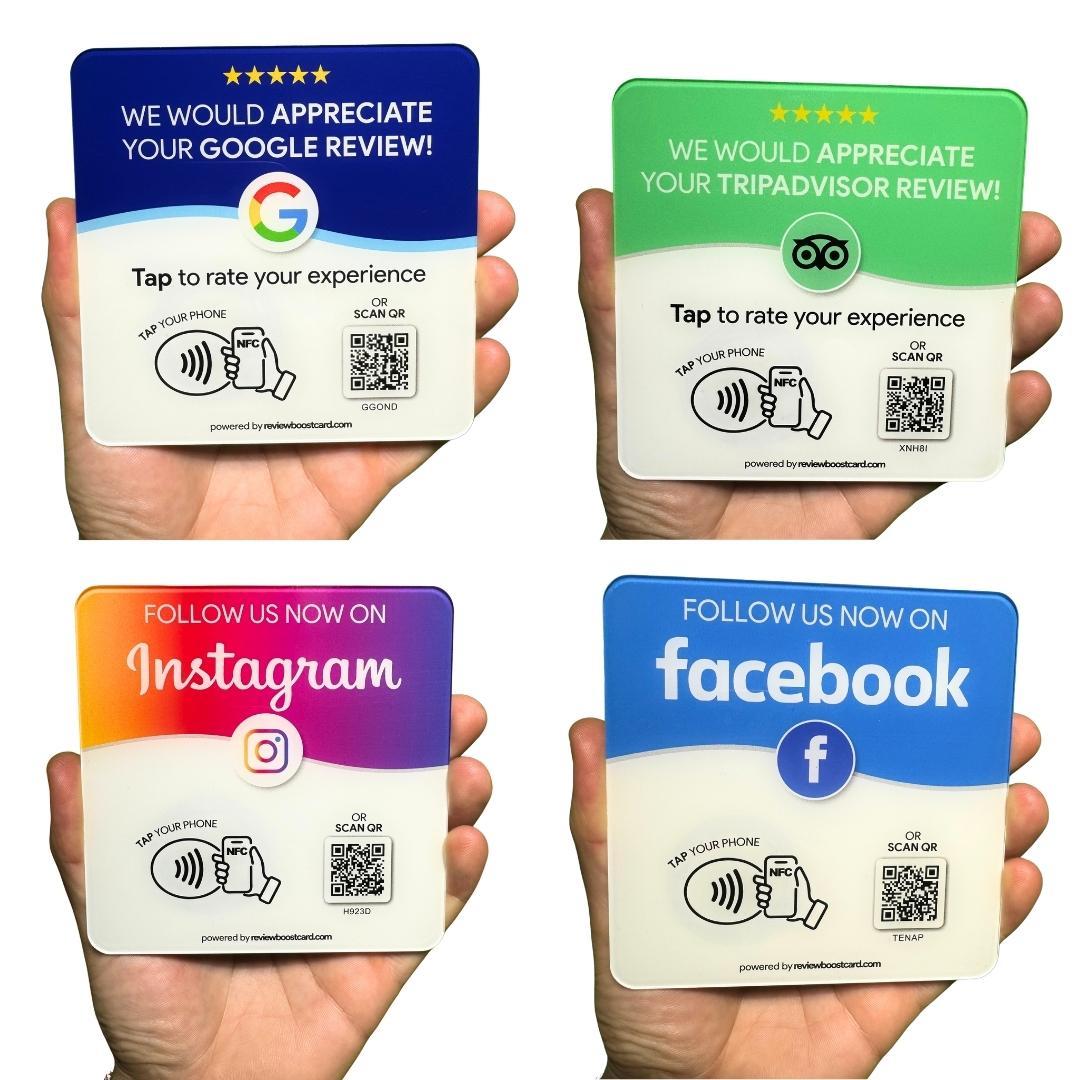
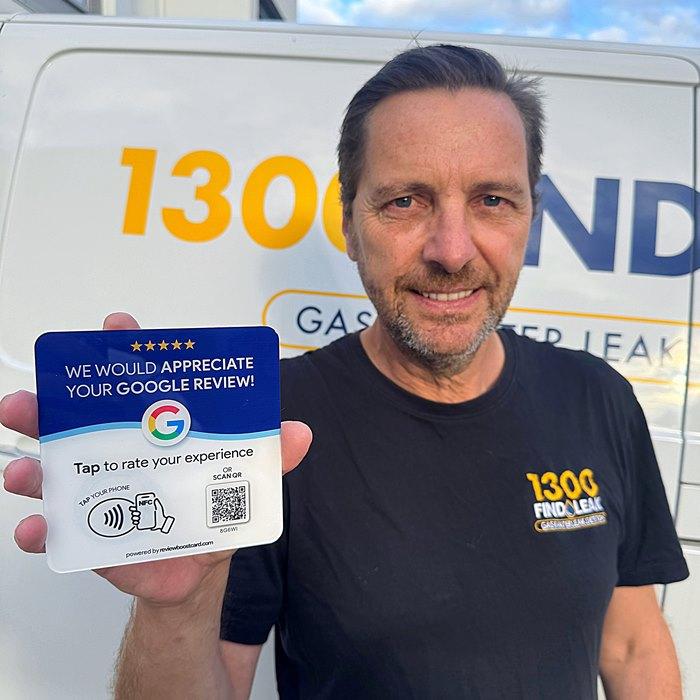
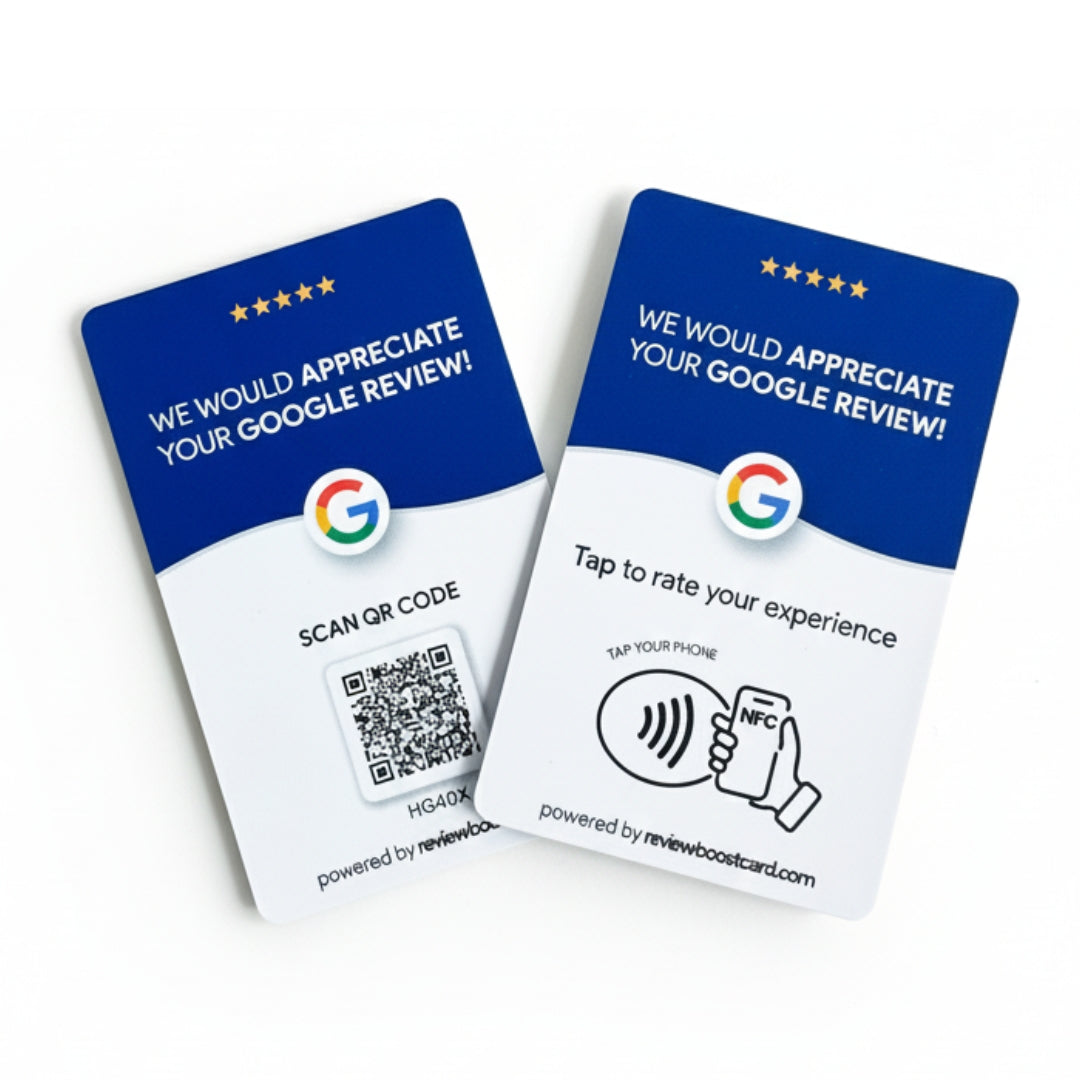
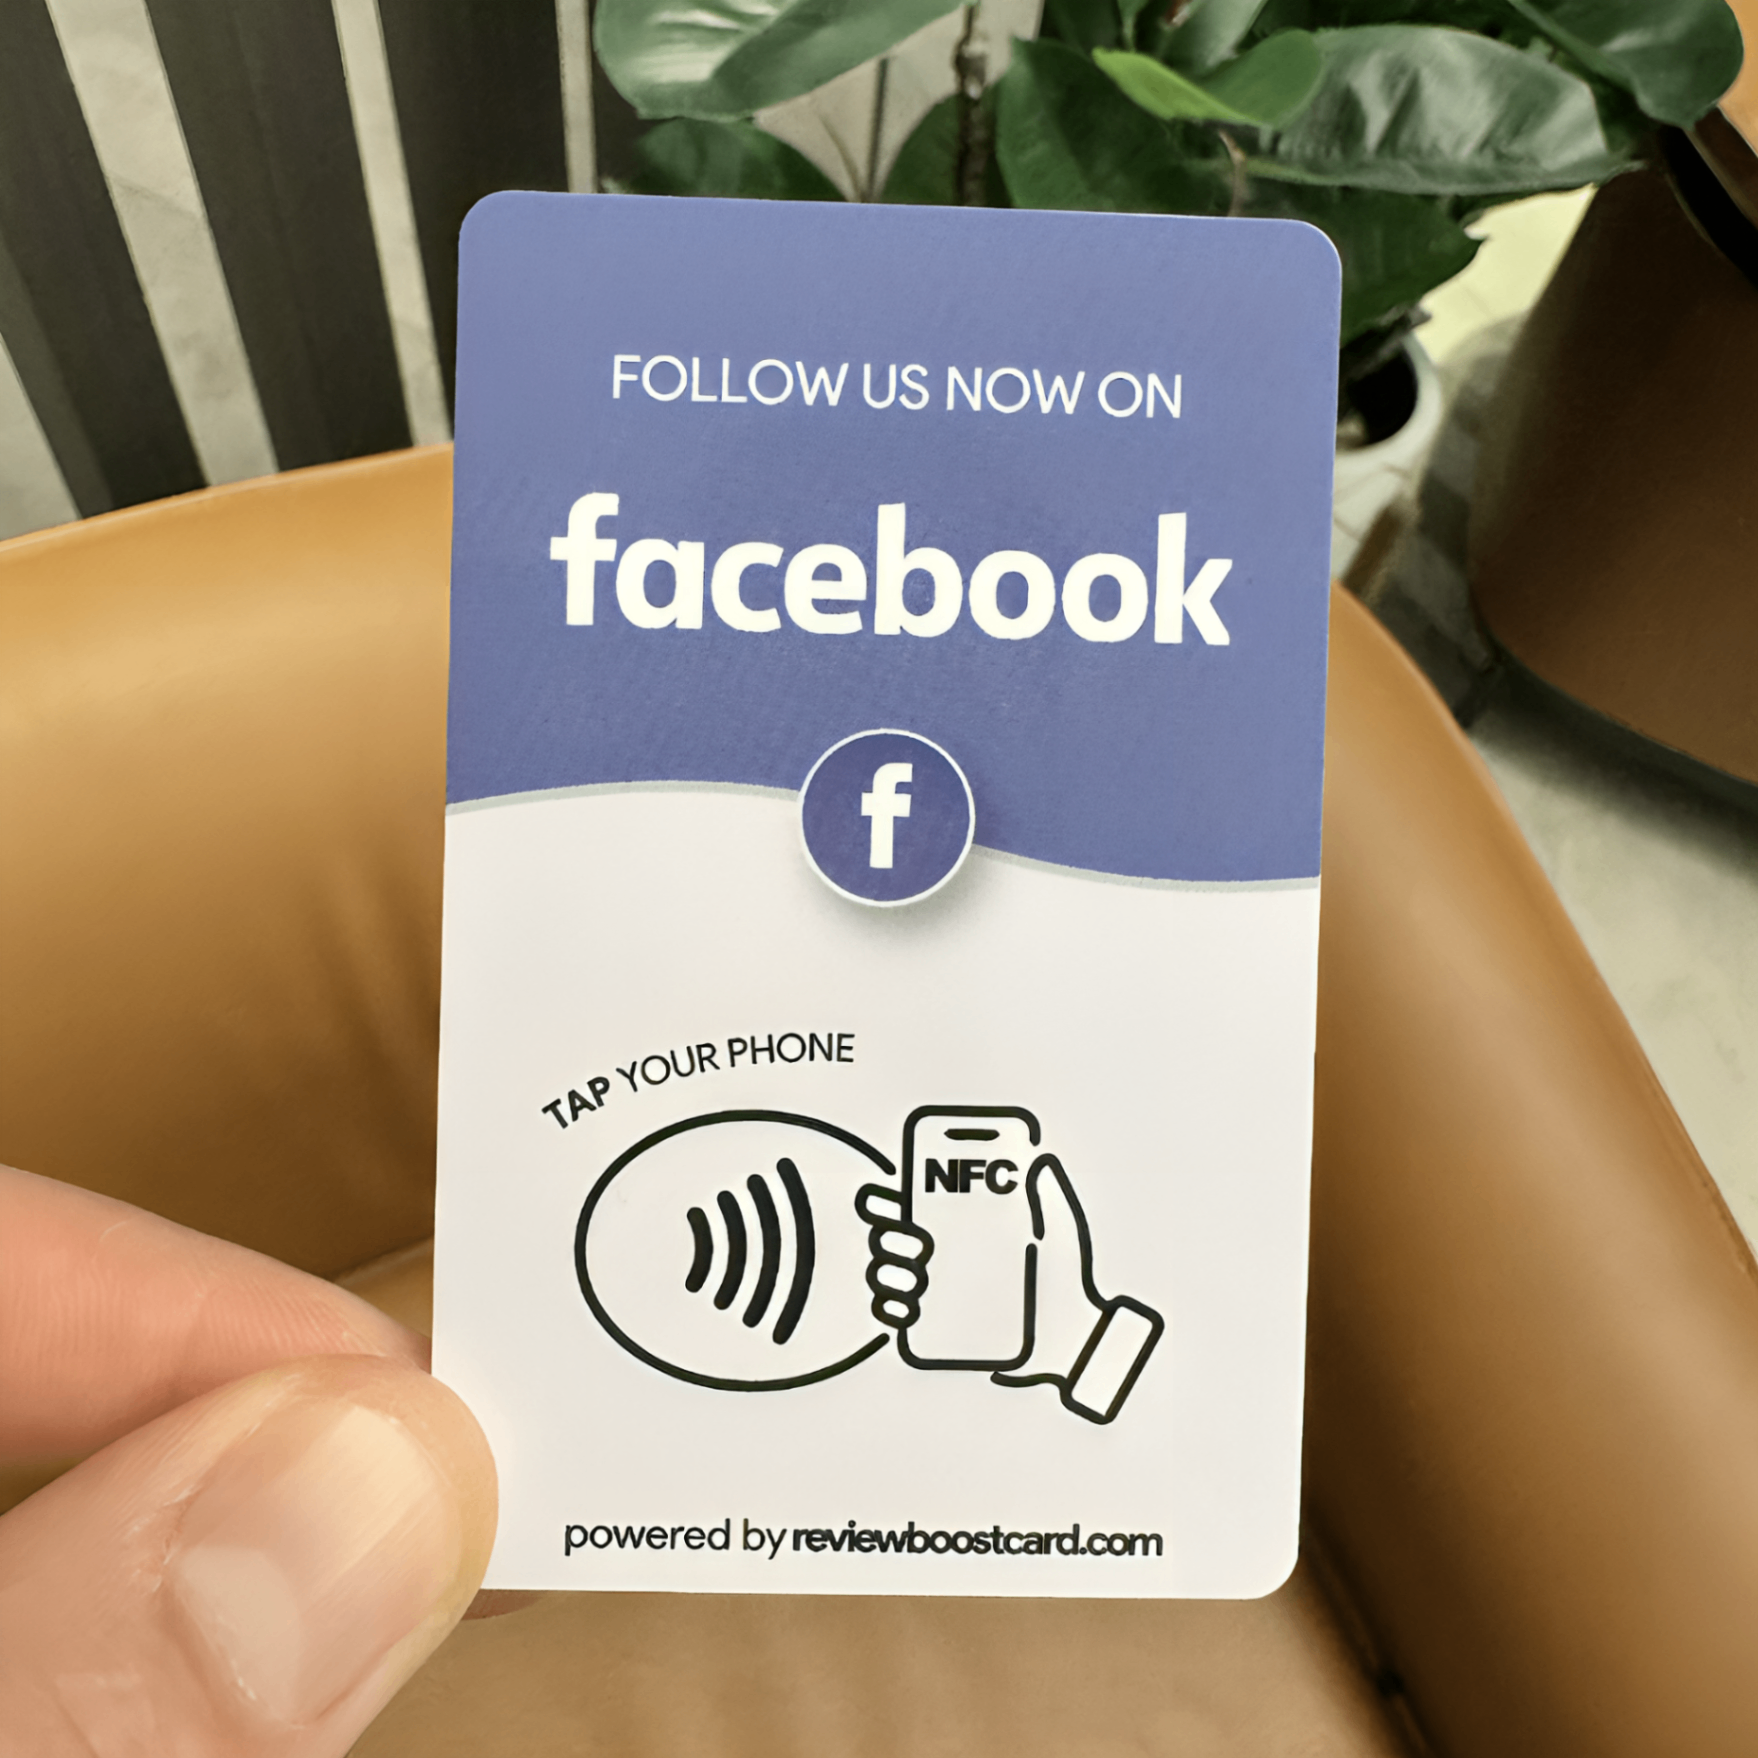
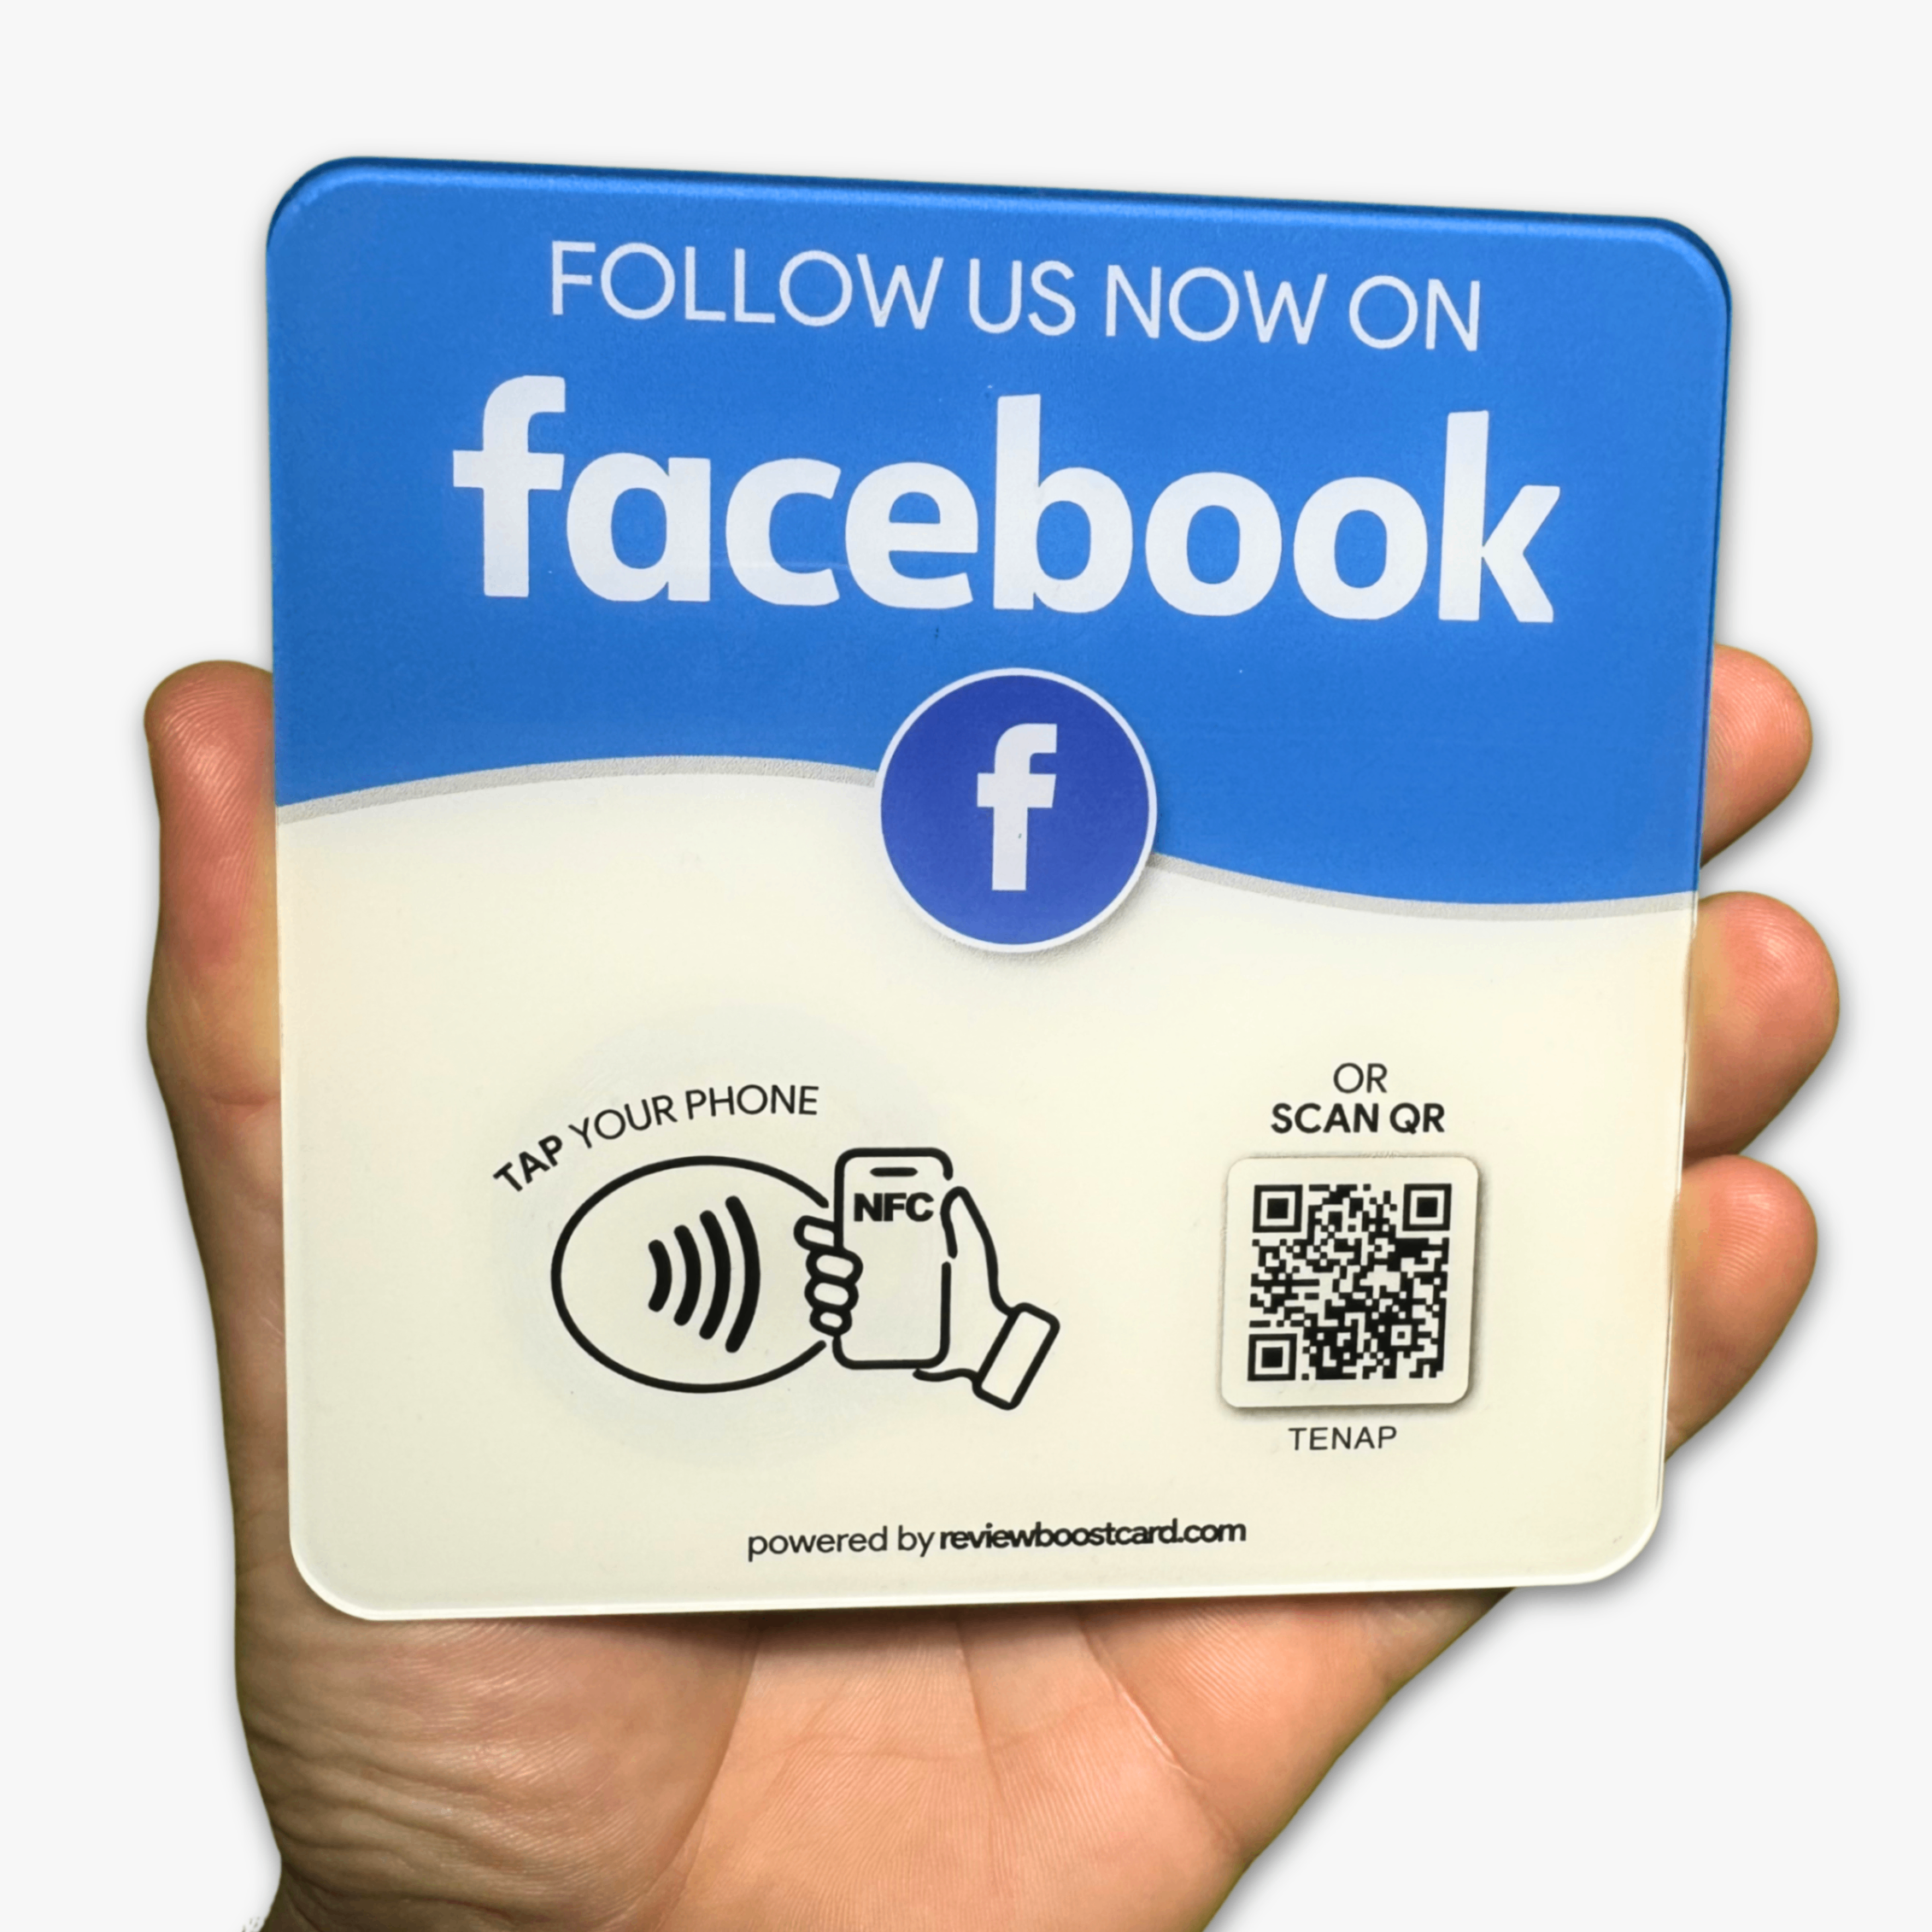
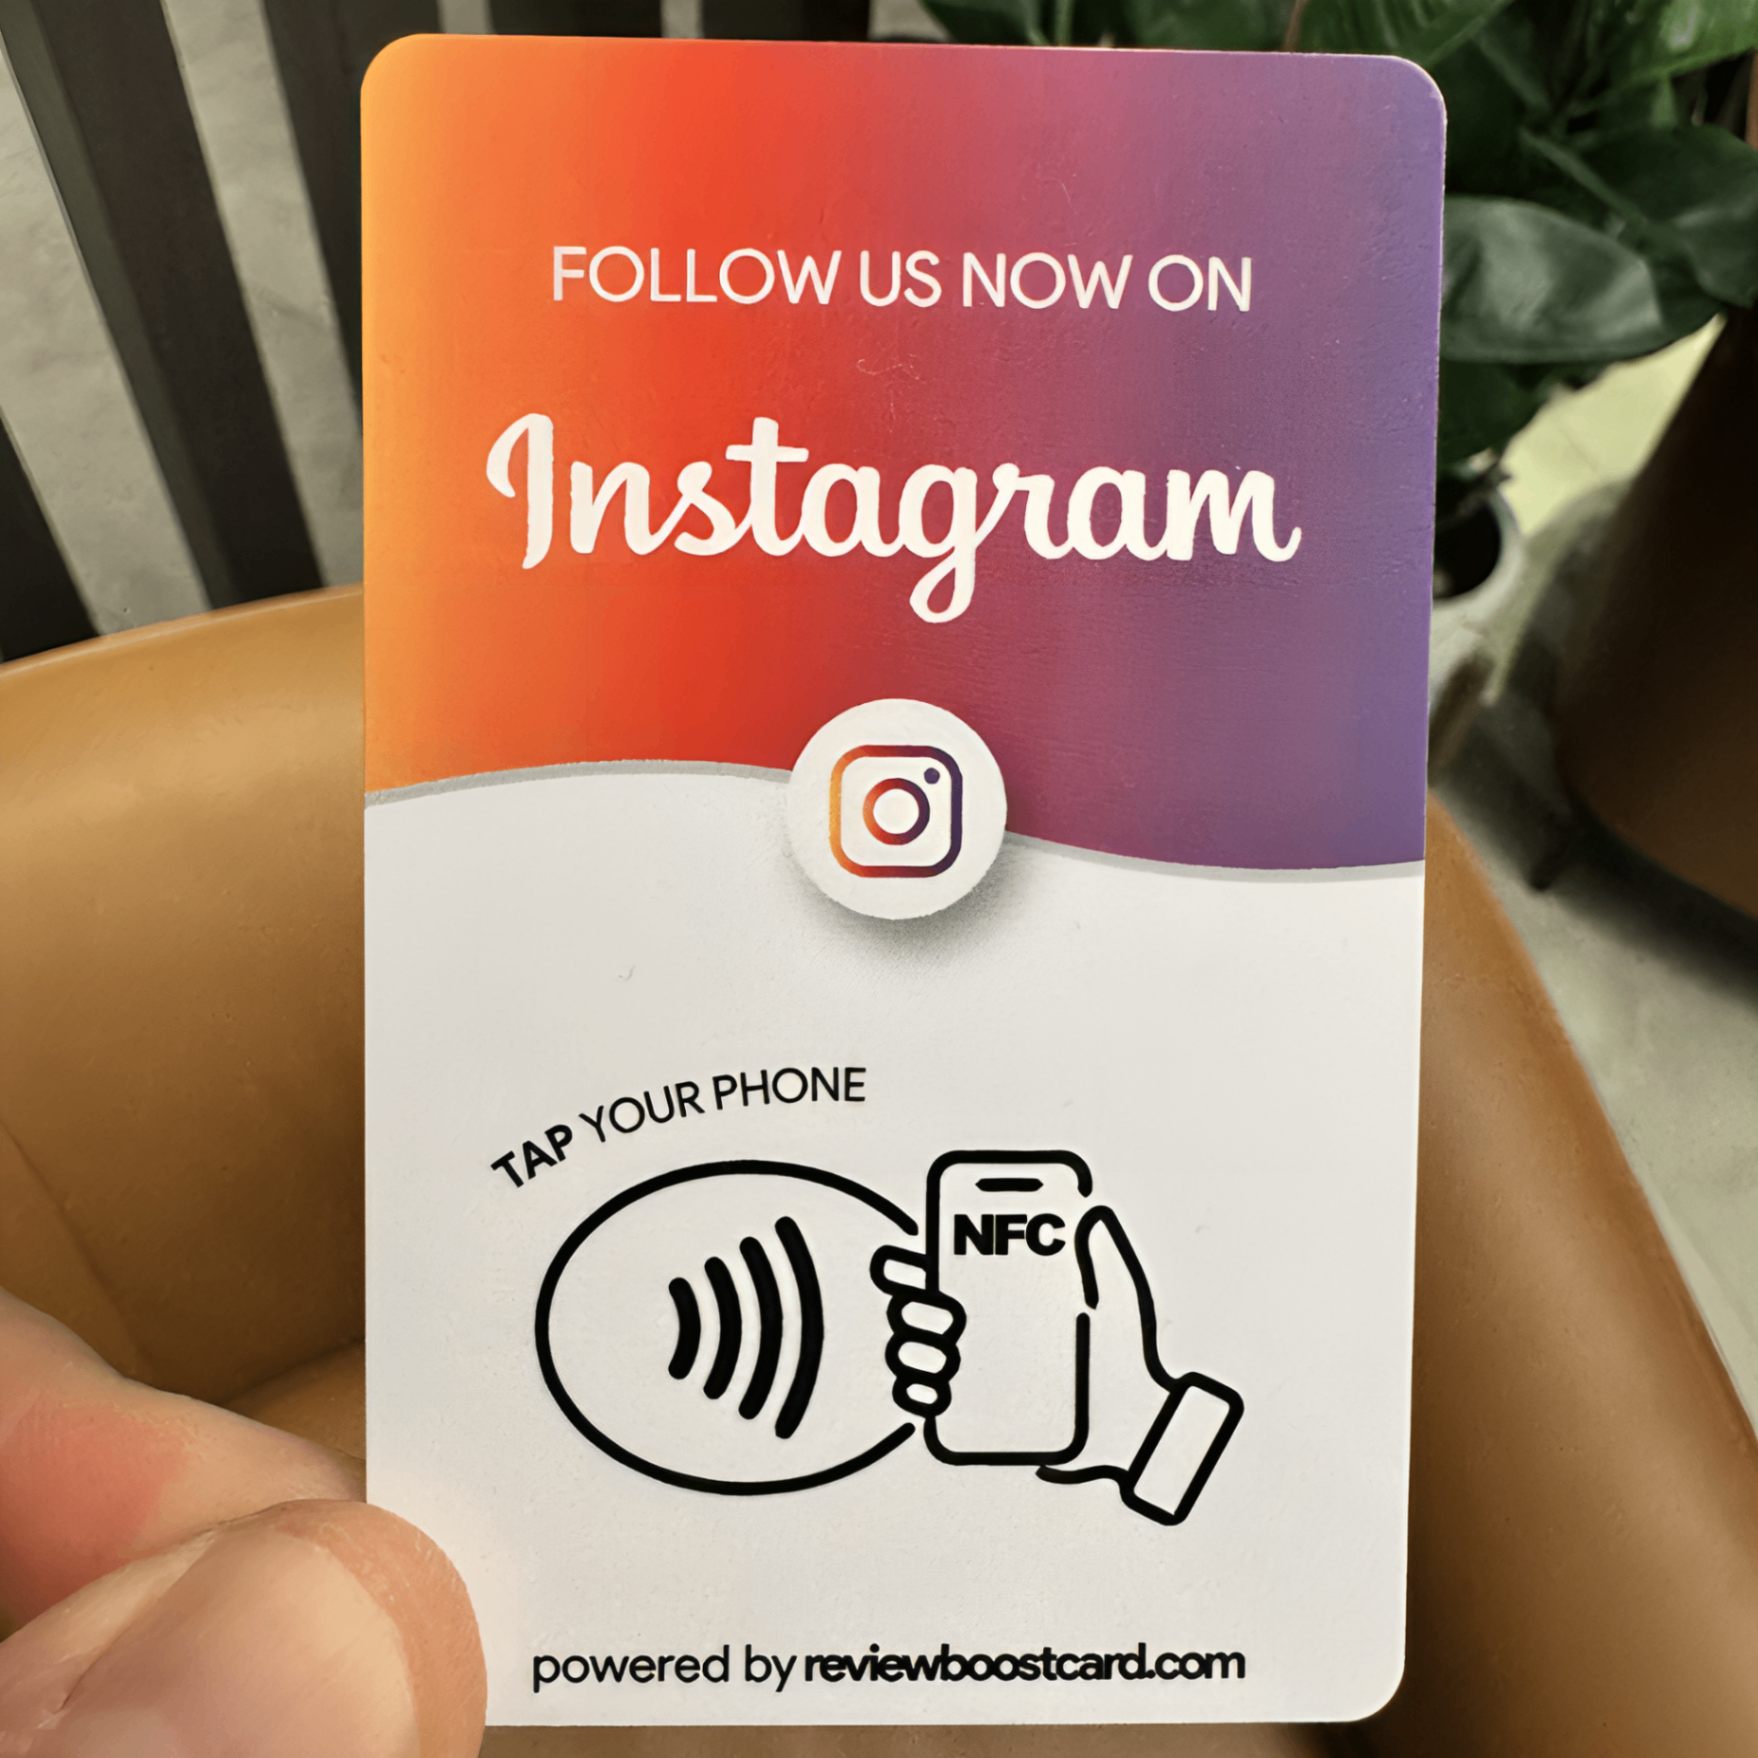
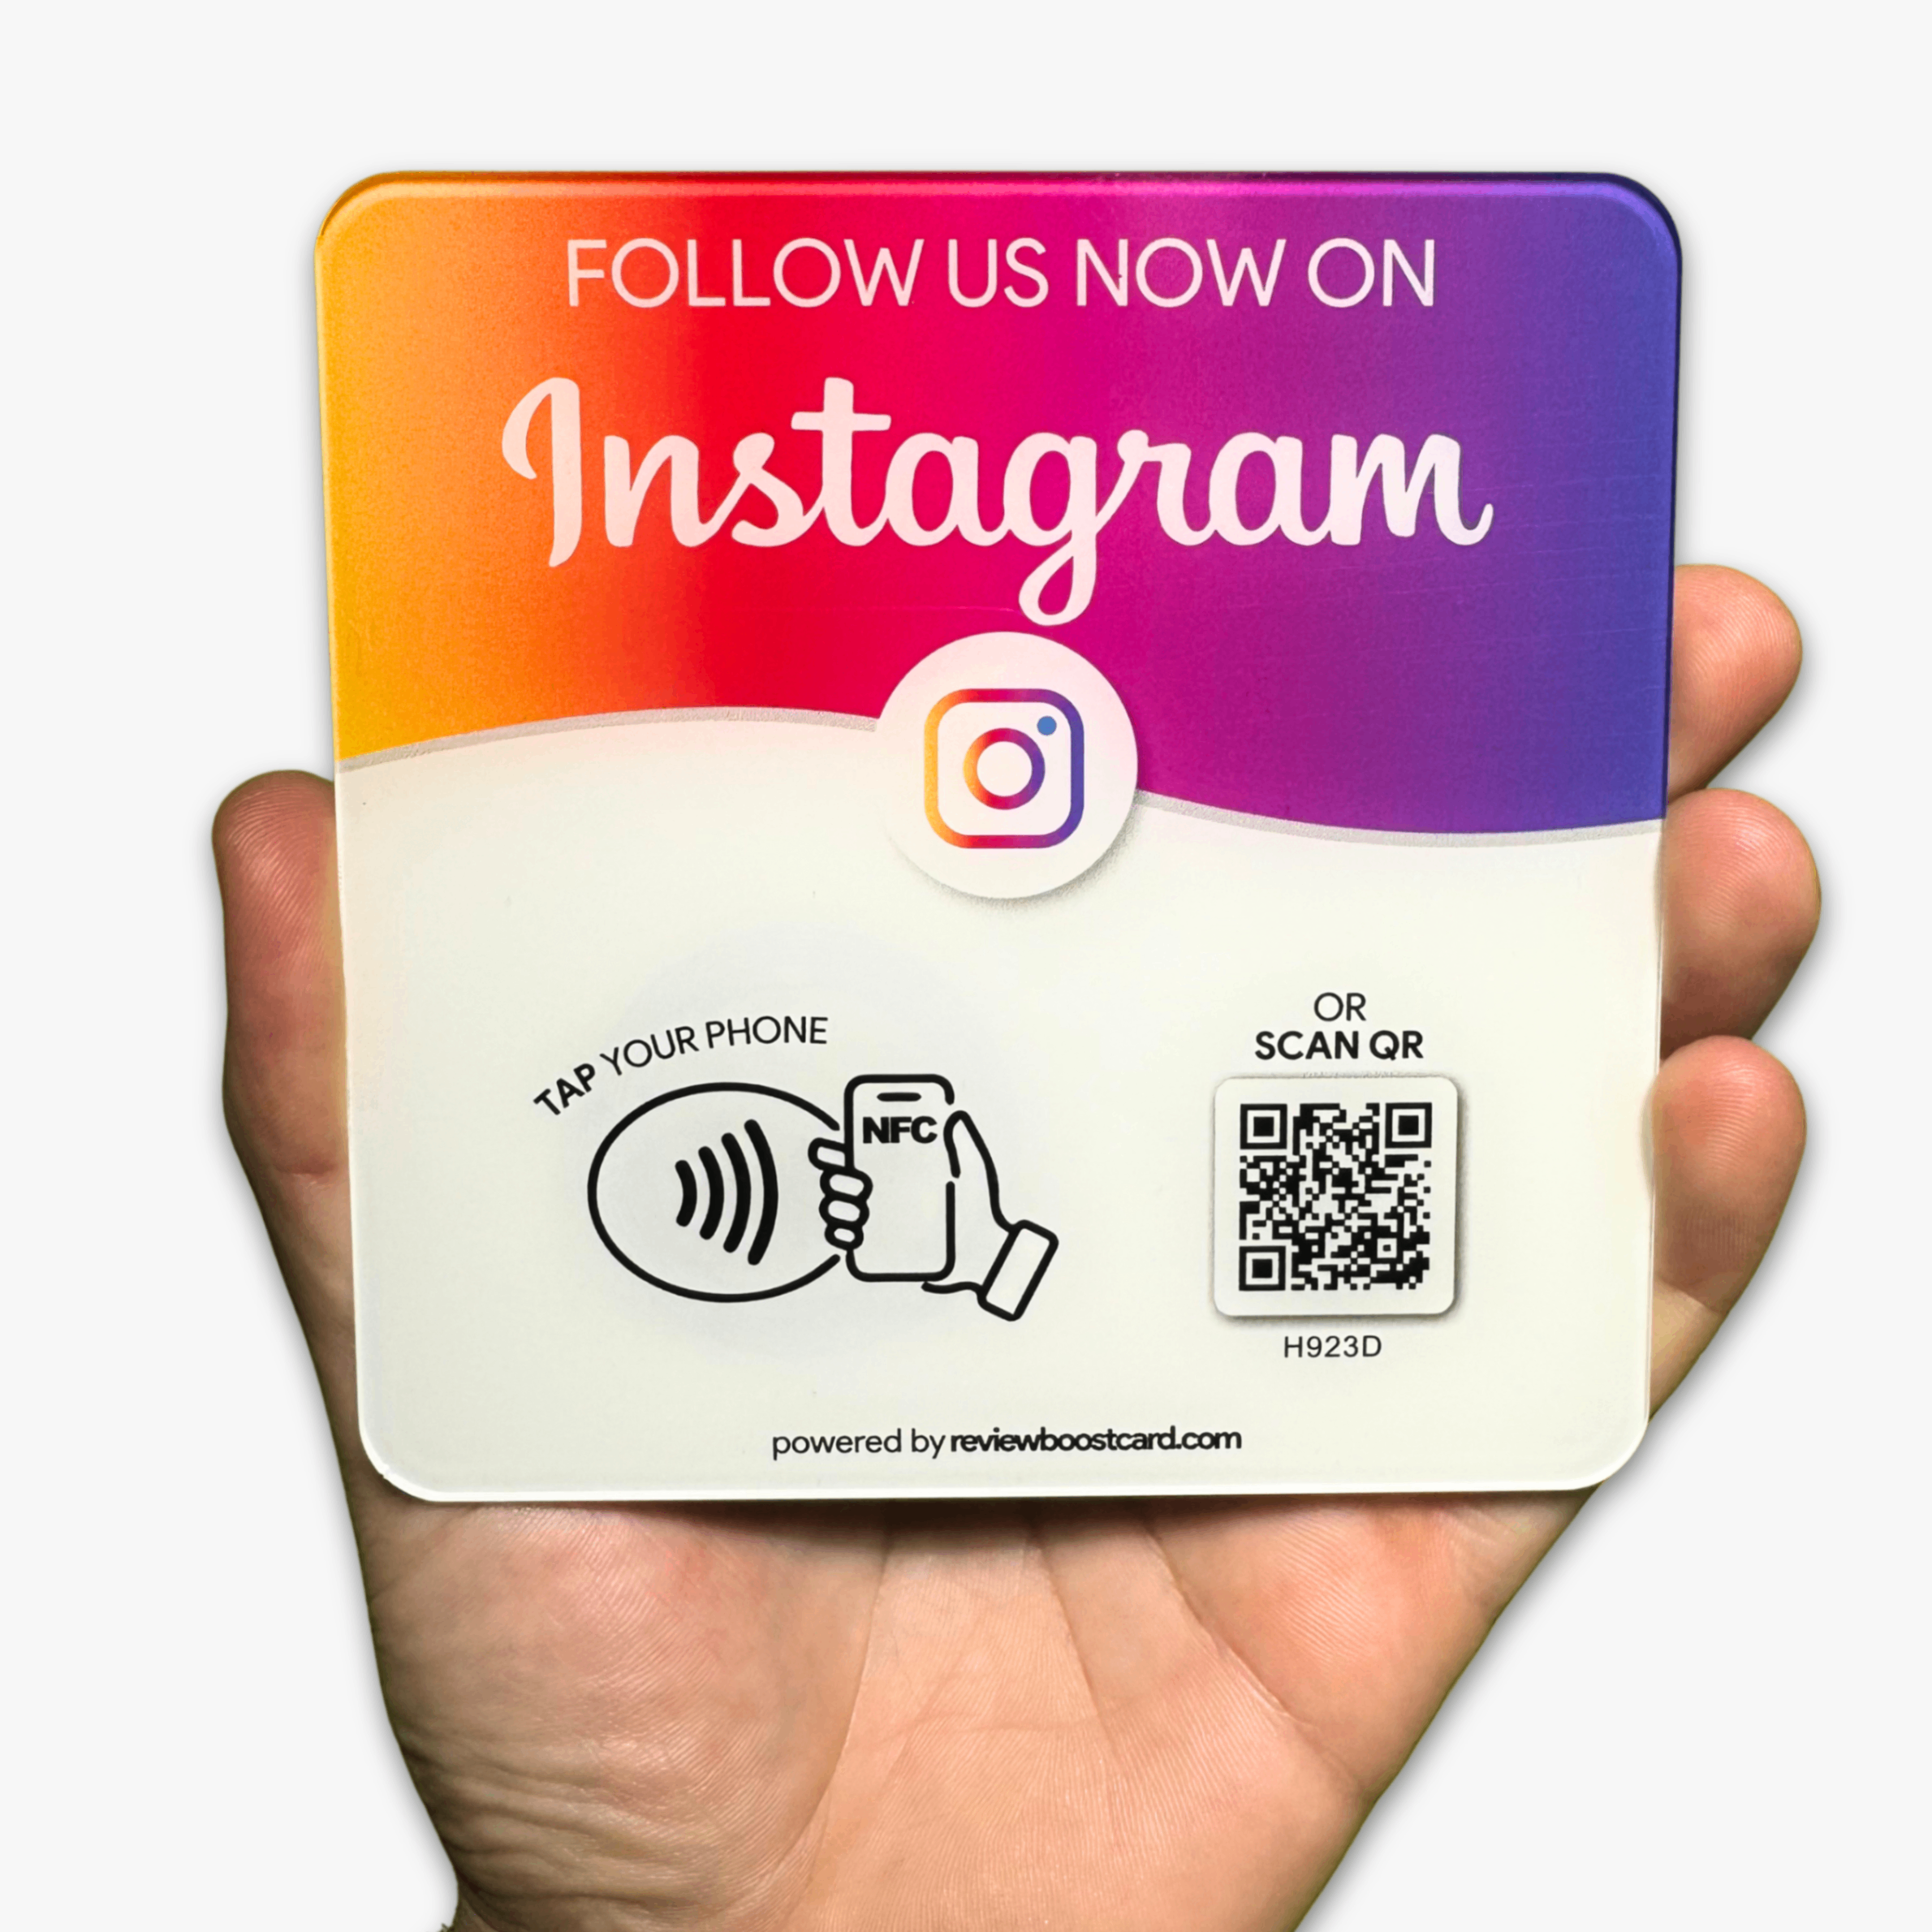
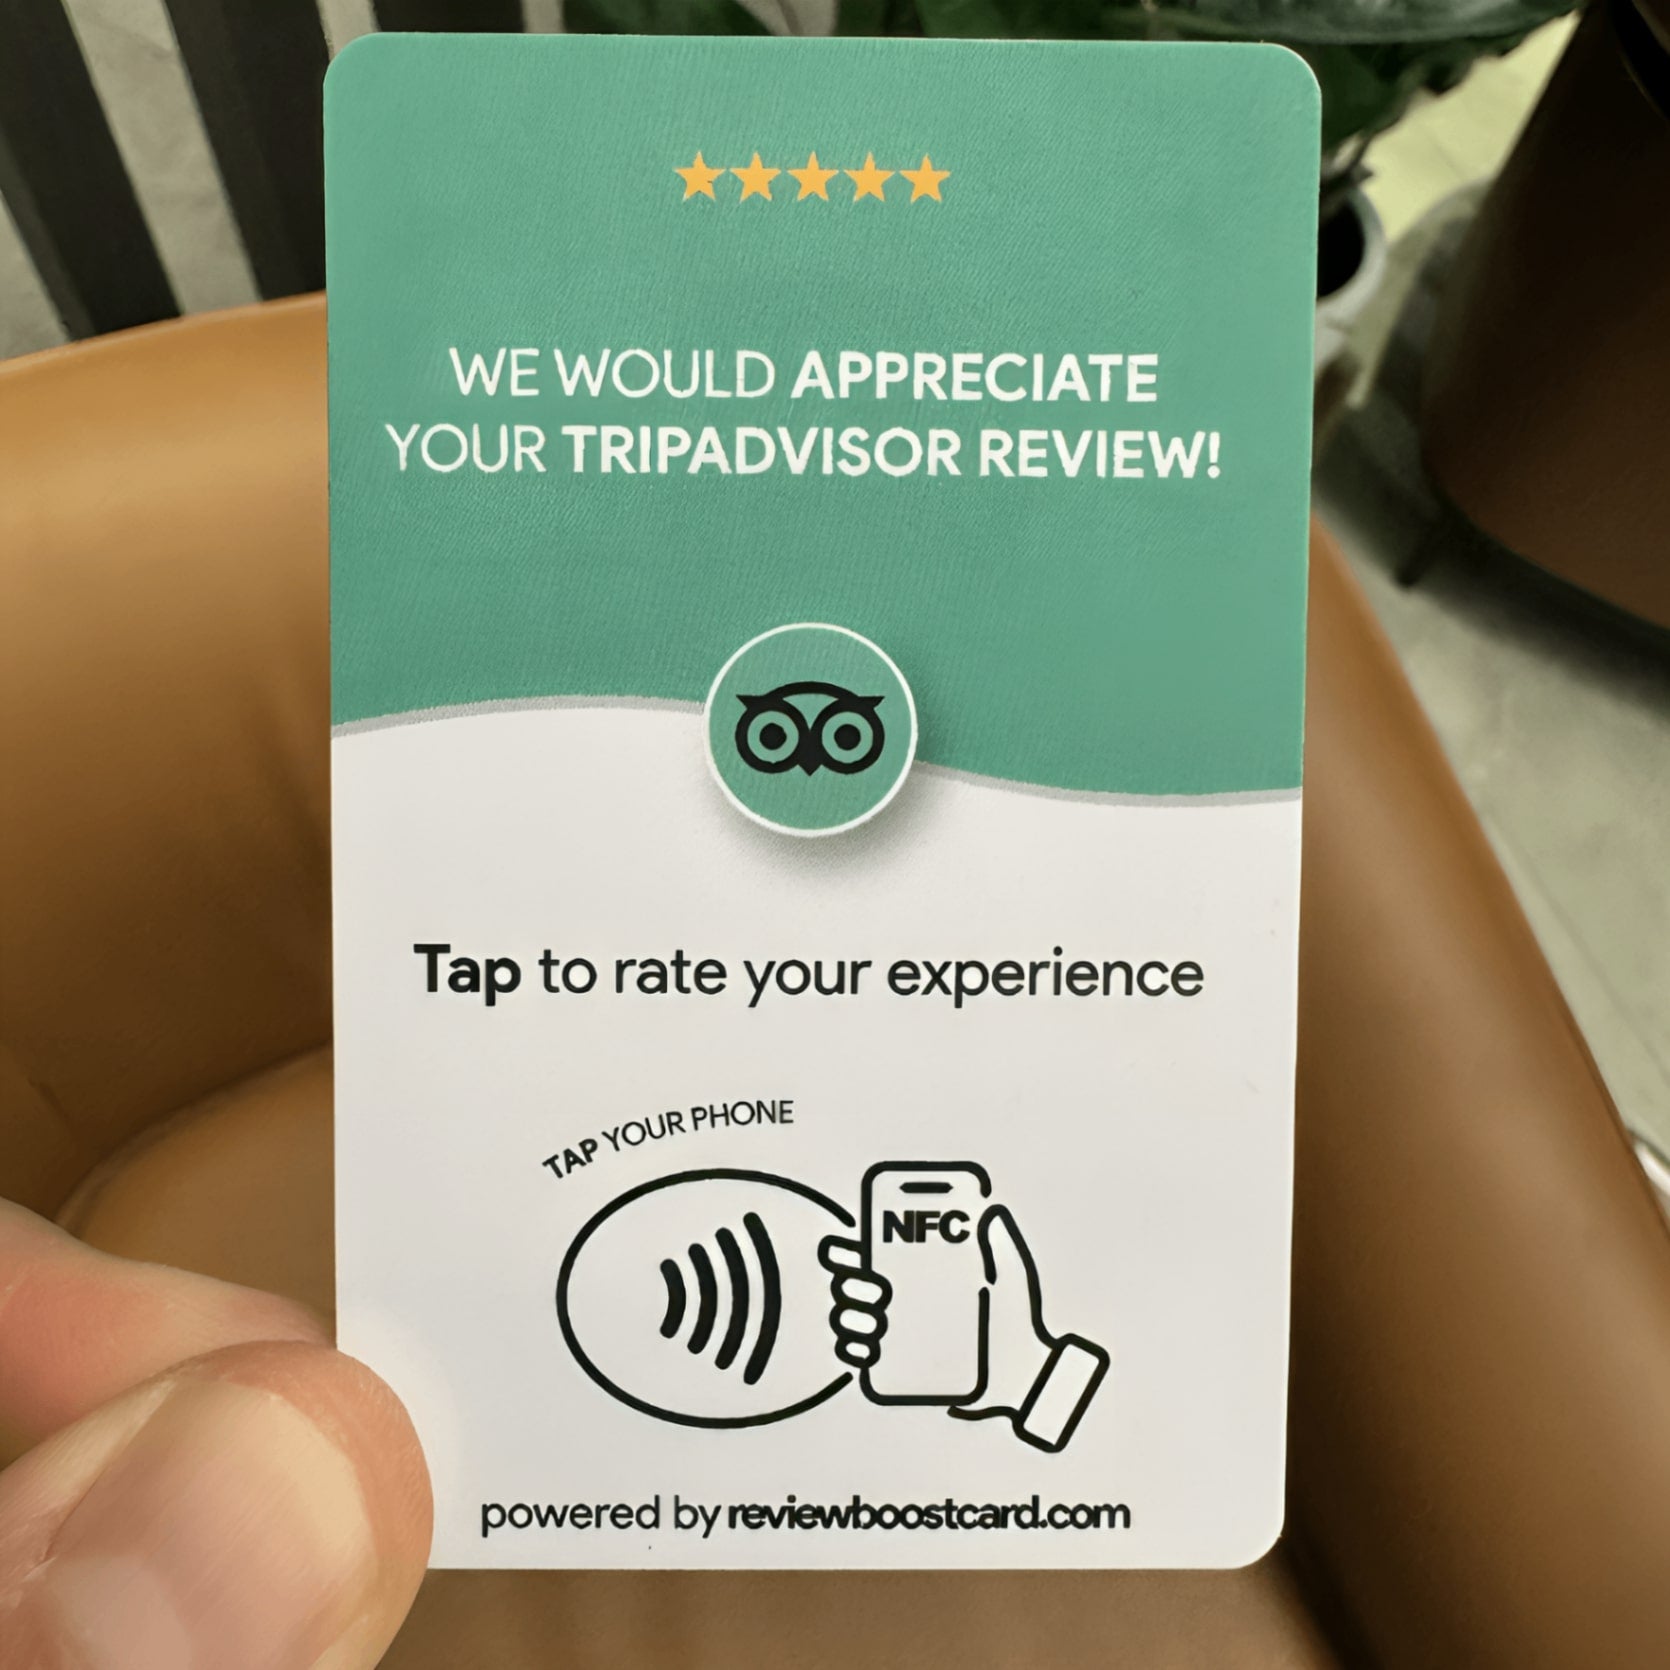
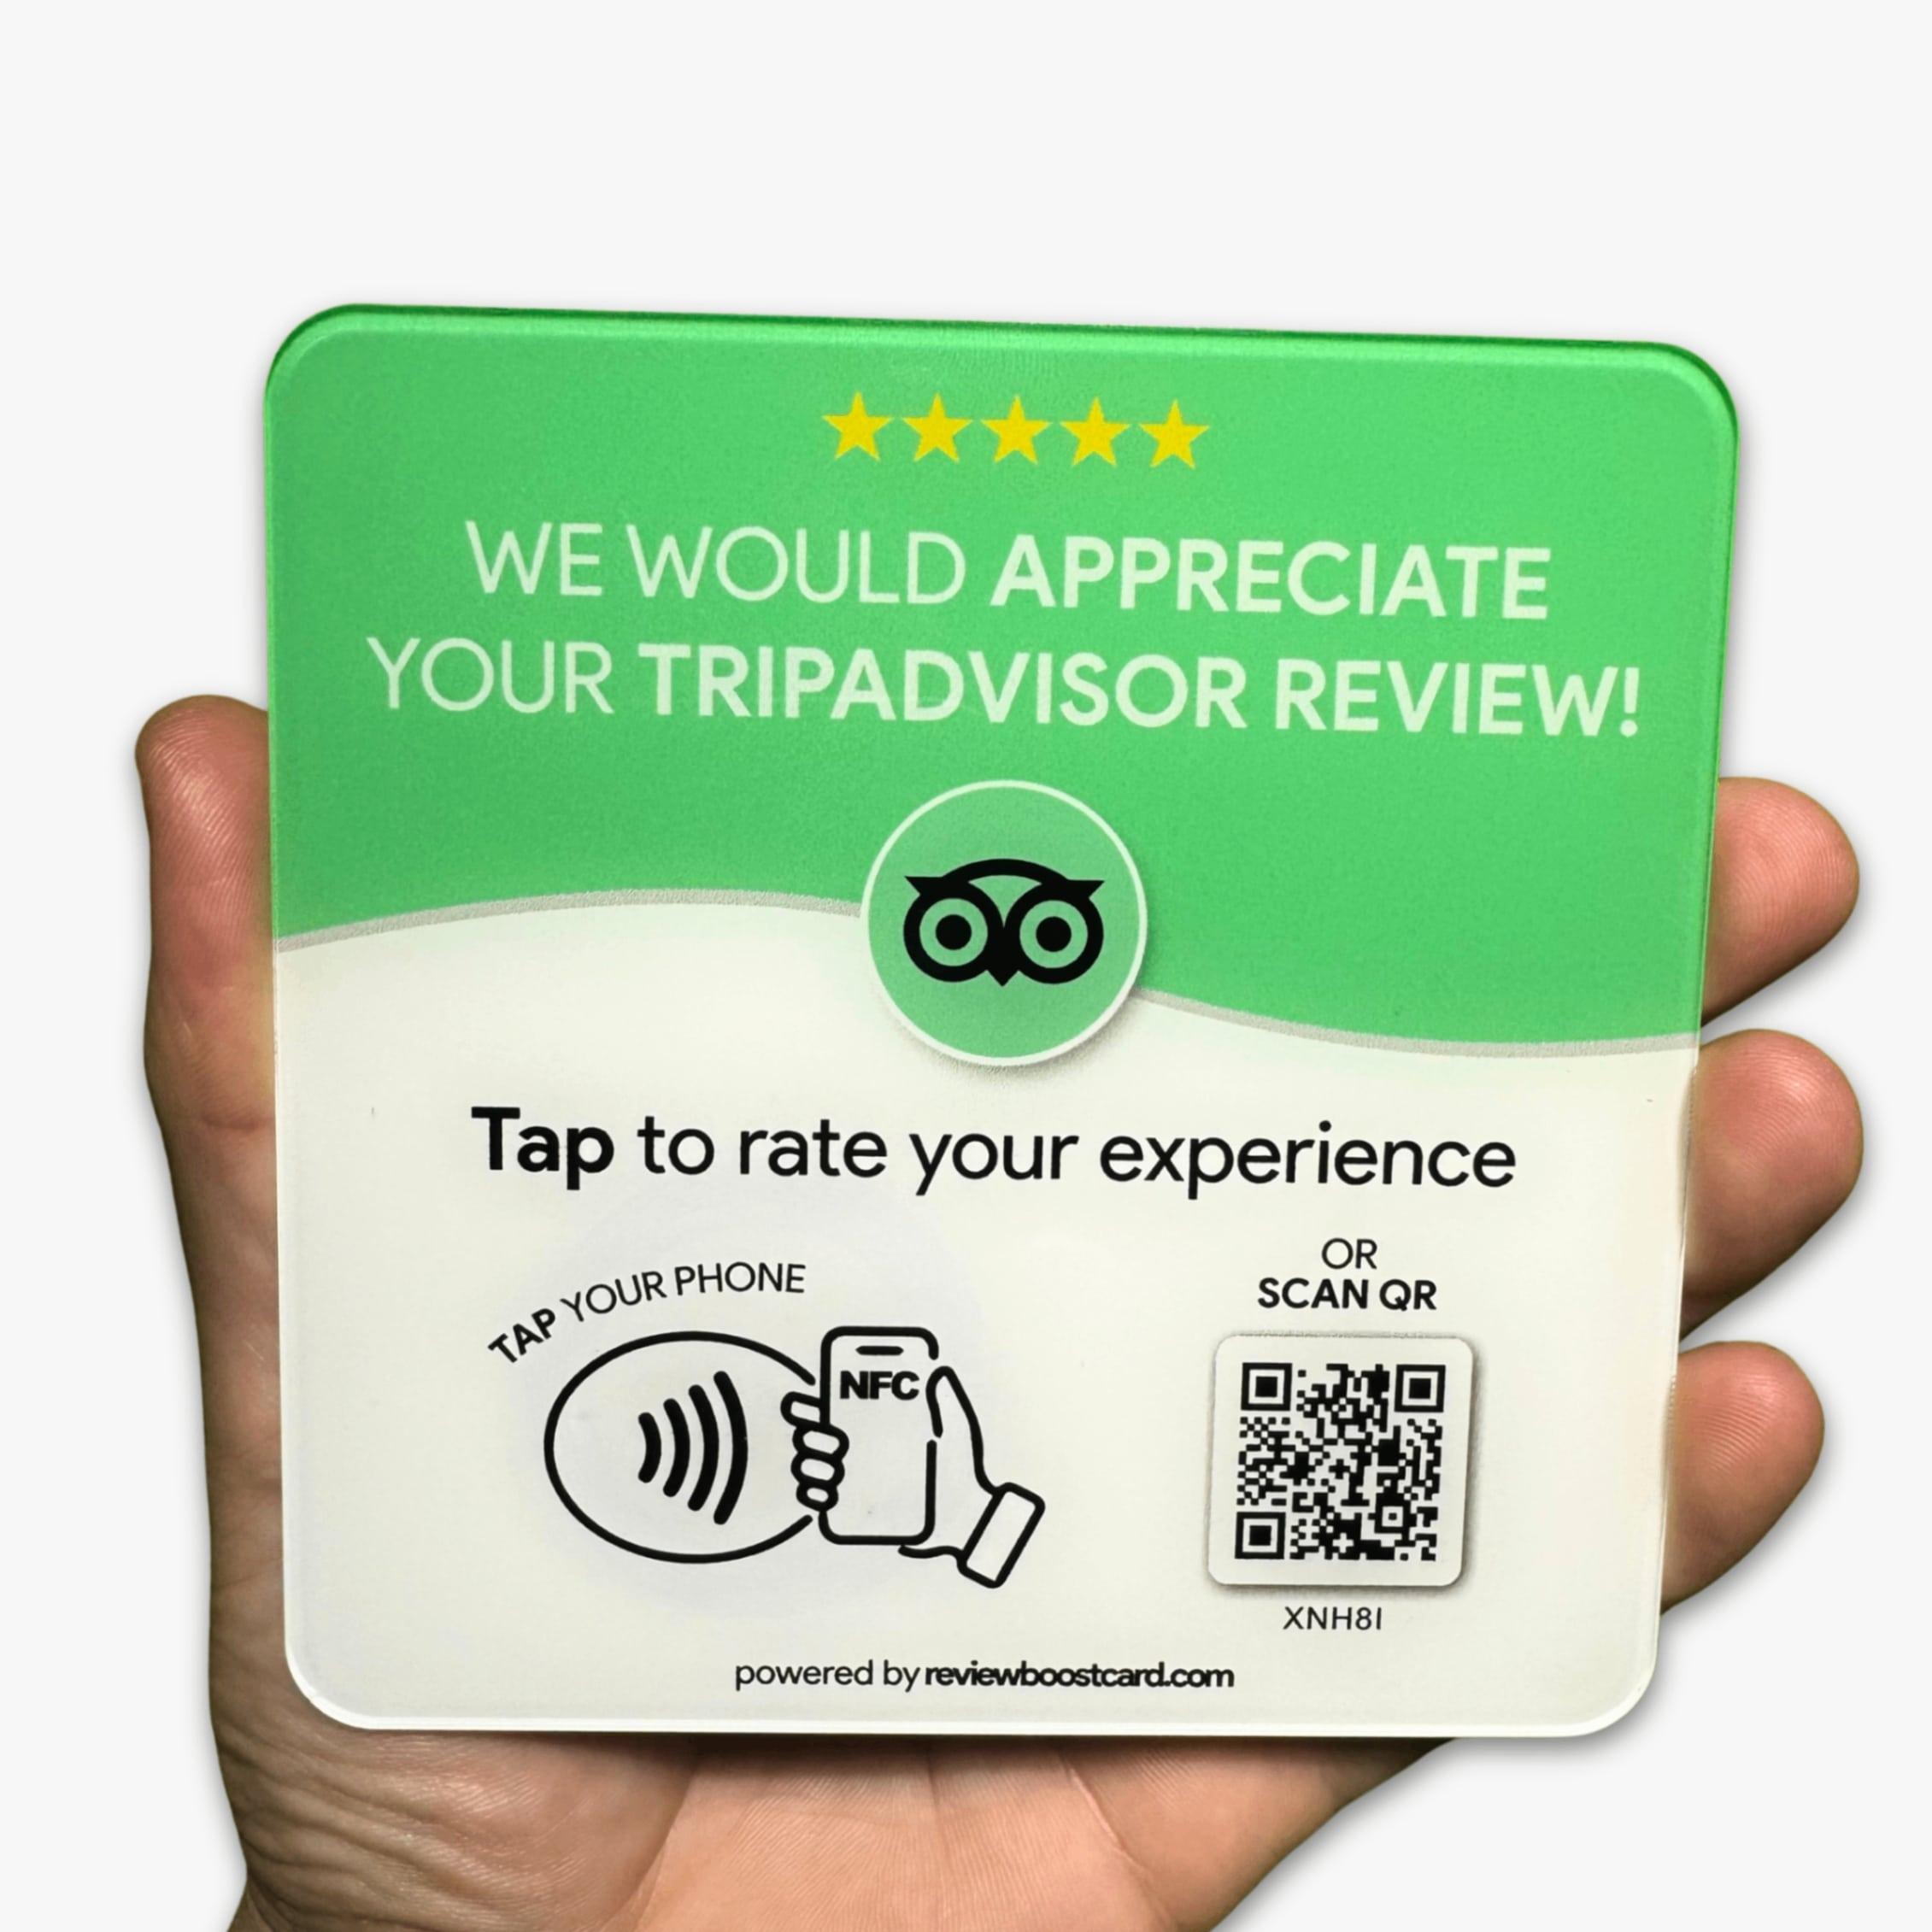
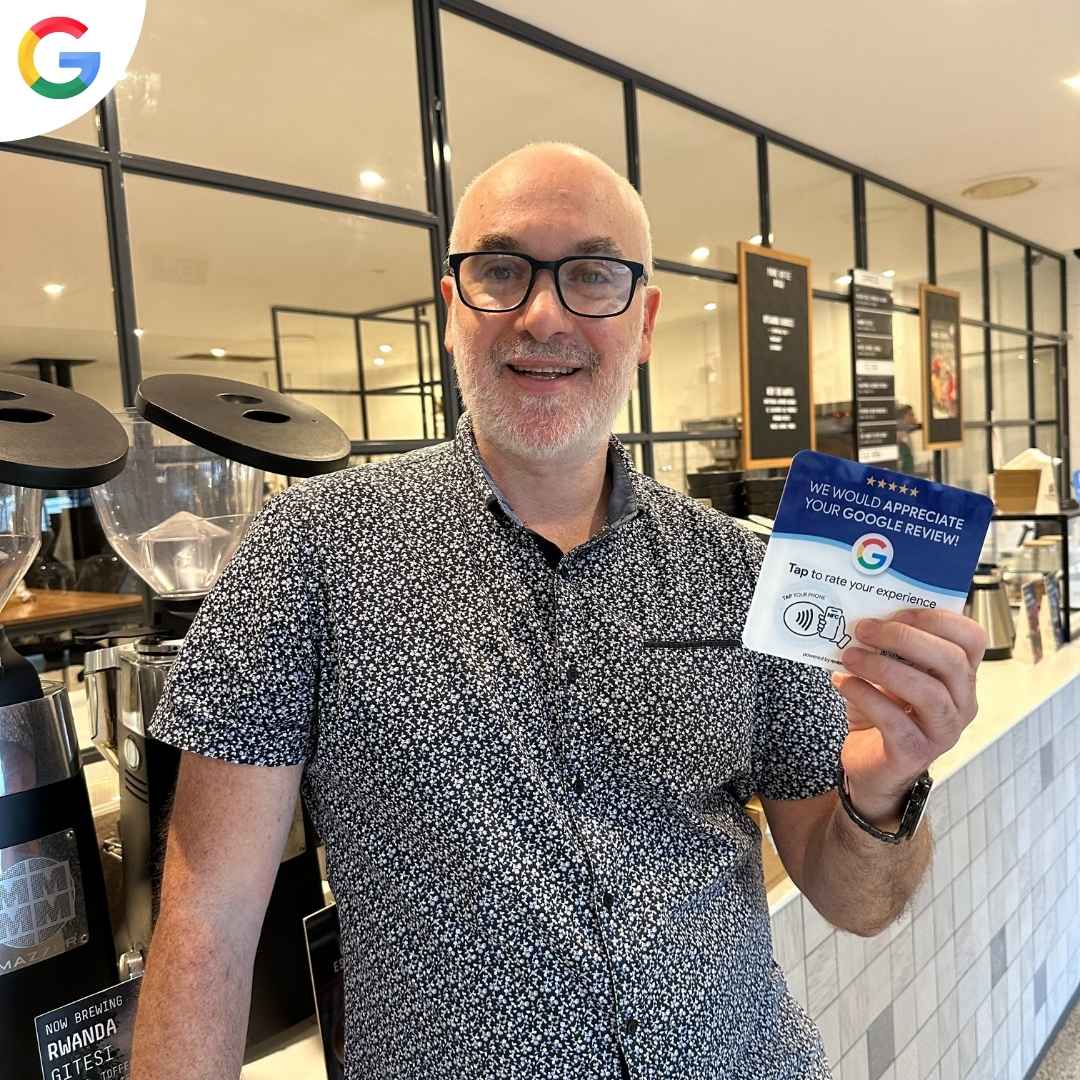
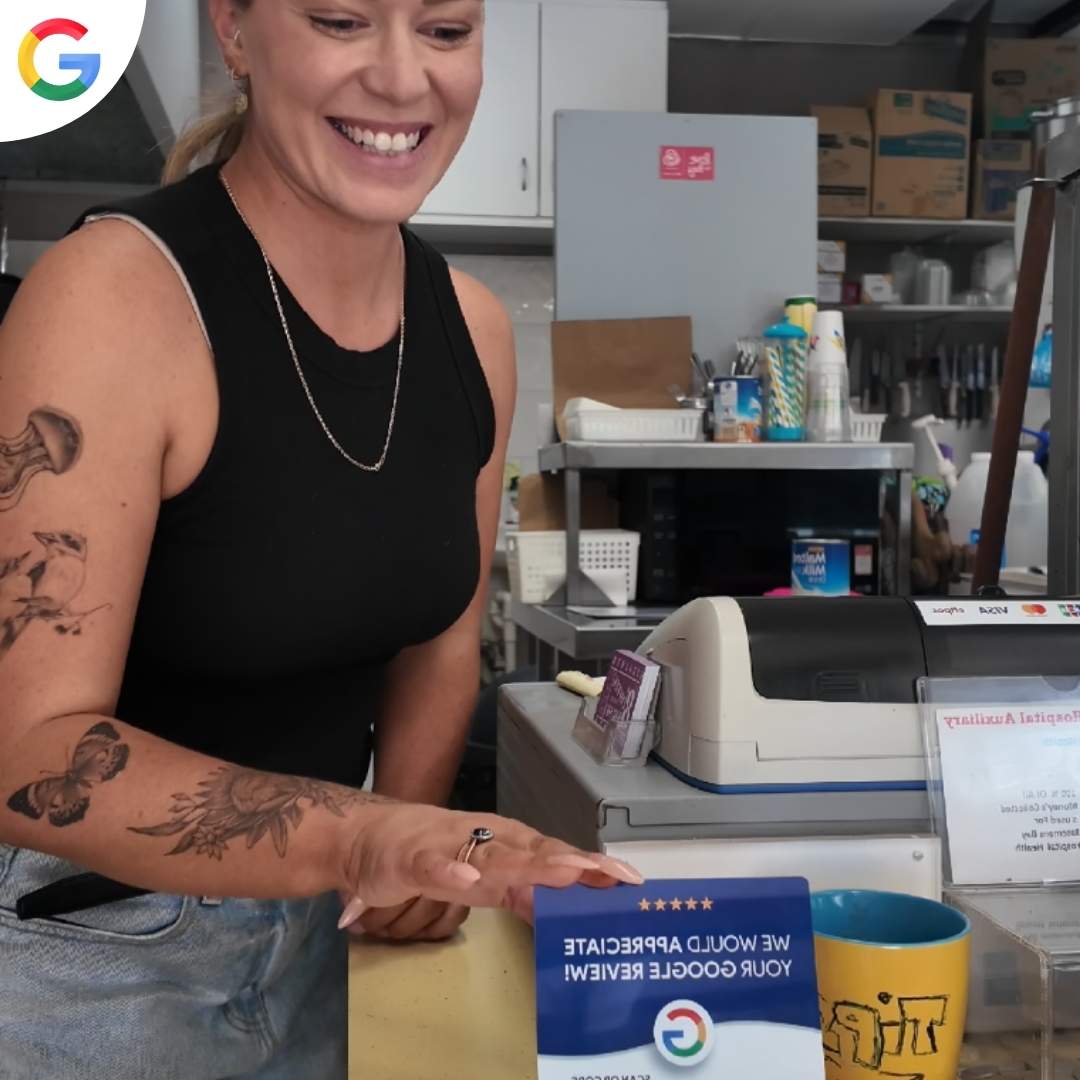
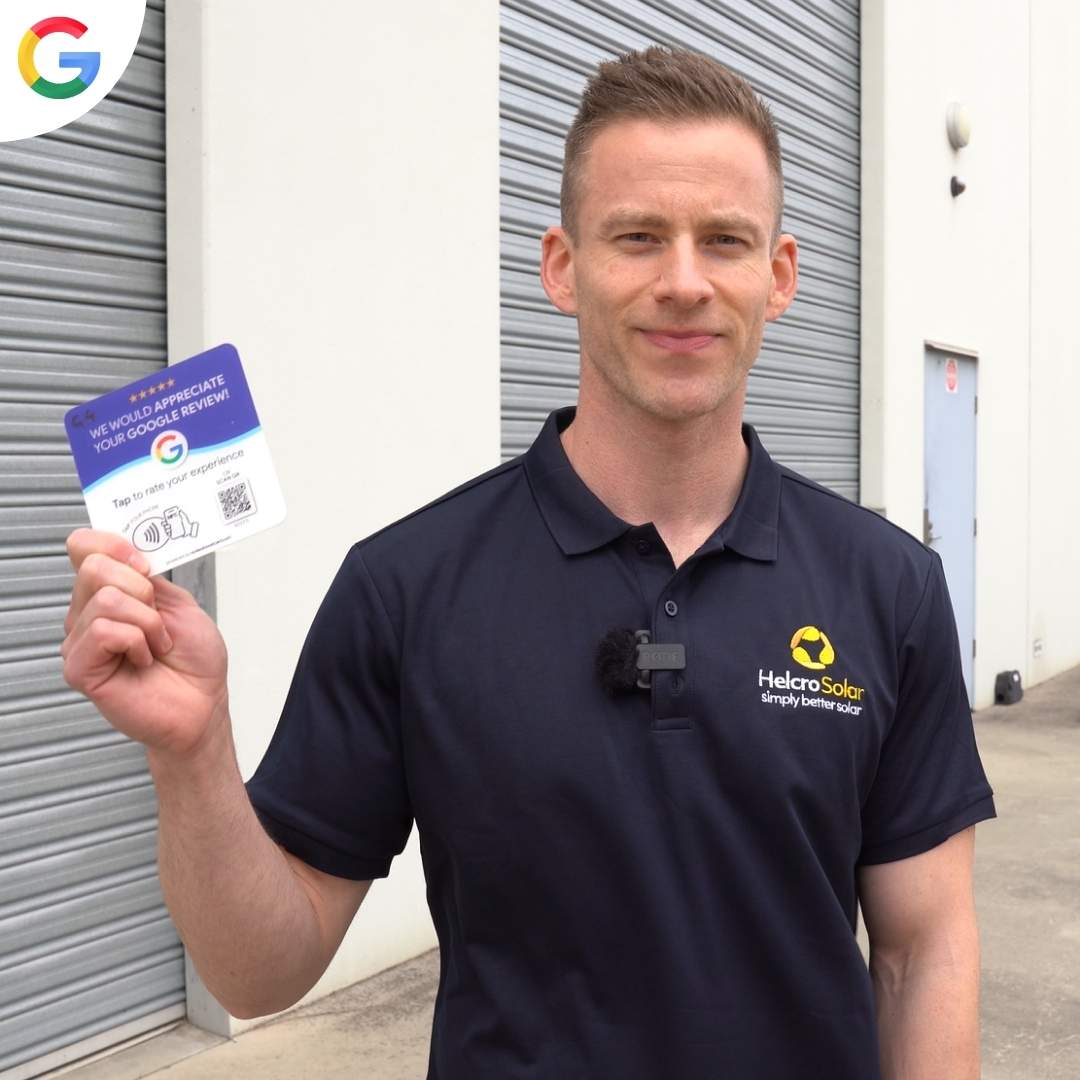
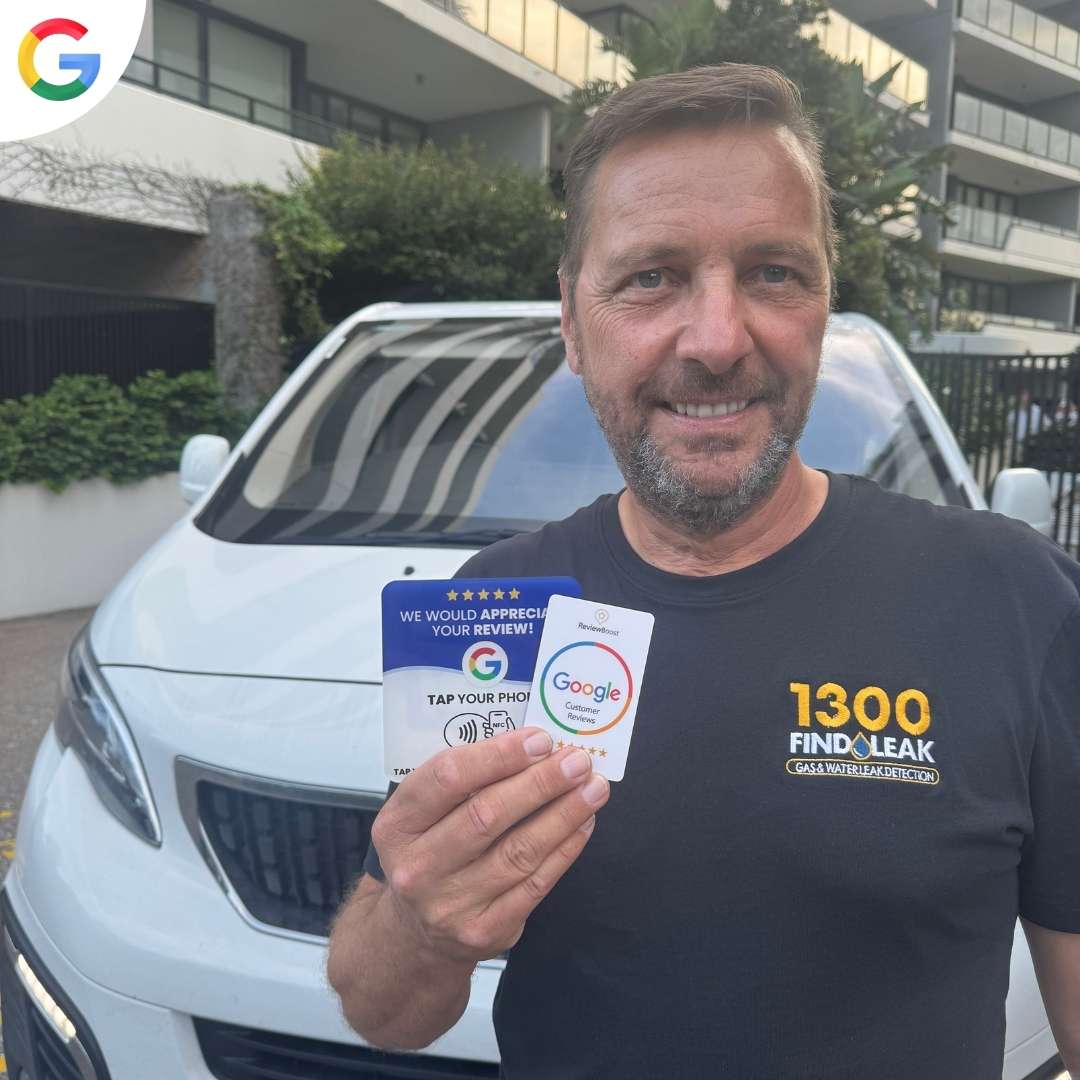
Bonus: Use ReviewBoost Plaques, Cards, or Stands to streamline the review collection process. These tools allow customers to leave reviews by simply tapping their phones, making it quick and easy.
Step 6: Filter Reviews with Conditional Logic Forms
Create a Form: Develop a form that filters reviews based on customer feedback.
Direct Positive Reviews: Send satisfied customers to leave reviews on Google.
Handle Negative Feedback: Redirect unsatisfied customers to a private feedback form to address their concerns internally.
Step 7: Respond to All Reviews
Reply Promptly: Respond to every review, thanking customers and addressing any issues they mention.
Use Keywords: Include relevant keywords in your responses to enhance SEO.
Step 8: Ensure Accurate NAP (Name, Address, Phone Number)
Consistency Across Web: Use tools like BrightLocal to ensure your NAP is consistent across all platforms.
Submit to Directories: Add your business to online directories with accurate NAP details.
Step 9: Submit Press Releases
Write Press Releases: Create newsworthy press releases about your business.
Include NAP: Ensure your NAP is included in every press release for citations.
Step 10: Utilize Bing Places
Register on Bing Places: Submit your business to Bing Places for additional trusted citations.
Step 11: Submit to Event Sites
Create Events: Use platforms like Eventbrite to list events hosted by your business.
Include NAP: Ensure your NAP is part of the event listing for consistency.
Step 12: Utilize Waze App
Register on Waze: Download Waze and add your business.
Take Photos: Use the app to take photos at your business location for verification.
Step 13: Use YouTube for NAP
Upload Videos: Post videos about your business on YouTube.
Include NAP: Add your NAP in the video descriptions for additional citations.
Step 14: Create a Profiles Page on Your Website
Link to All Profiles: Create a page that links to all your business profiles (Google My Business, Yelp, etc.).
Add to Footer: Link this page in the footer of your website for easy access and indexing.
Bonus Step: Use ReviewBoost Plaques, Cards, or Stands
Encourage Reviews: Use ReviewBoost products to make it easy for customers to leave 5-star reviews.
Place Strategically: Place plaques, cards, or stands where customers can easily see and use them.
Conclusion
By following these steps, you'll significantly improve your chances of ranking higher in Google search results, driving more traffic, and attracting more customers.


